Step 2. Configure Management and Security Server for Windows Single Sign-On.
Of the many authentication types that Management and Security Server supports, in this evaluation you will use Windows Active Directory for authentication (to the Administrative Server) and LDAP for authorization. By using Single Sign-On and your existing identity management system, the user experience will not be disrupted.
When users authenticate to Management and Security Server’s Administrative Server with their Windows domain logon, they will have access to the sessions that the administrator makes available to them.
NOTE:If you do not have access to LDAP or Active Directory, you can leave Authentication set to “None”; however the business objective for this evaluation will not be met.
As the administrator:
-
In the Administrative WebStation, open . Note the current setting of “None” for Authentication and Authorization. Click
-
Select , and click .

NOTE:By using single sign-on, the user experience is not disrupted because the user is already familiar with their Windows domain logon.
-
Select (or verify the selection of) . Enter your system information, See Help for assistance.
-
Use the default, . Click .
-
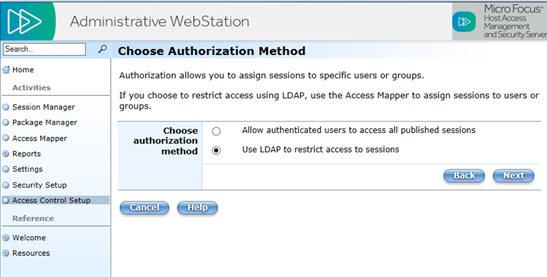
On the Choose Authorization Method page, select . Click .
-
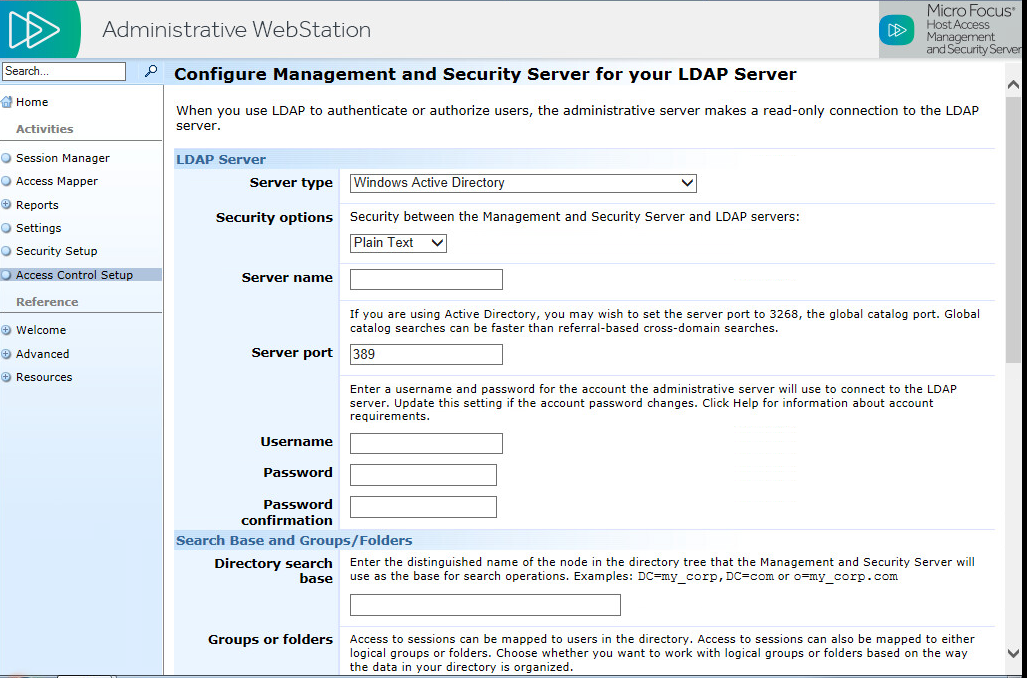
Enter your information, with as the Server type. Click Next.
-
On the confirmation page, click .