 previous
 next
next

This walkthrough shows how to set up a SharedMacros.rd3x file and create an MSI file that can be used to deploy that file to users.
NOTE:Reflection Desktop supports shared VBA macros for IBM (.rd5x and .rd3x) and VT (.rdox) session documents.The SharedMacros settings files have the same extensions as their corresponding session document files:
IBM 5250: SharedMacros.rd5x
IBM 3250: SharedMacros.rd3x
VT: SharedMacros.rdox
After you have developed and tested your macros, you’ll need to deploy the SharedMacros.rd3x file to users, along with related settings, such as toolbar or ribbon buttons. This includes:
The SharedMacros files (the .rd5x, .rdox, or .rd3x files) that contain the shared macros.
A custom ribbon (.xuml) file that includes any buttons or menu items you added to run the macros.
To create an MSI file for a SharedMacros file
Verify the location of the user data folder and make sure you know where the session files and their related settings you want to add are located. For this example, we are packaging the files in the following locations:
|
Add this file |
In this directory |
|---|---|
|
SharedMacros.rd3x |
%USERPROFILE%\Documents\Micro Focus\Reflection\ |
|
myRibbon.xuml |
%USERPROFILE%\Documents\Micro Focus\Reflection\CustomUI |
On your administrative workstation, open the Installation Customization Tool from a desktop shortcut or from a command line as follows:
path_to_setup\setup.exe /admin
In the Select Customization dialog box, choose .
The Installation Customization Tool opens in the mode used to create companion installer packages.
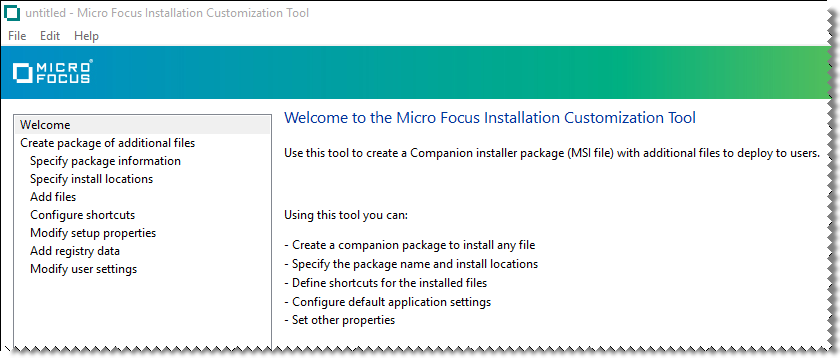
From the Navigation pane, click .
In the box, enter the name for the package that you want to appear in the Windows list.
In the box, enter the name of your department.
From the Navigation pane, click . Then, under Installation type, select .
In the Navigation pane, select . Then, in the list, select [PersonalFolder] and type in:
\Micro Focus\Reflection\CustomUI
When you are done, the list entry is:
[PersonalFolder]\Micro Focus\Reflection\CustomUI
Click . Then browse to the configuration file (myRibbon.xuml) and click .
In the Add file to list, select [PersonalFolder] and type in:
\Micro Focus\Reflection\
When you are done, the list entry is:
[PersonalFolder]\Micro Focus\Reflection
NOTE:Be sure to specify the correct location for each file you add. Reflection looks for configuration files in specific locations. To find the correct file locations for any type of file see Customized Files and Where to Deploy Them.
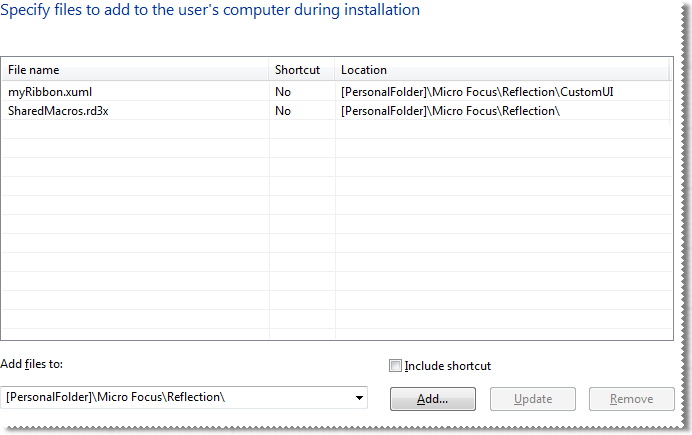
Click . Then browse to the SharedMacros.rd3x file.
When you are finished adding files, the panel should look similar to the following:
From the menu, save the package as an .msi file on the administrative installation point.